Import media and add a background
- Copy the whole Demo folder, keeping Media beside Stellar Aurora.stellar. Open this filled project to explore the example. Create a new project for your own work.
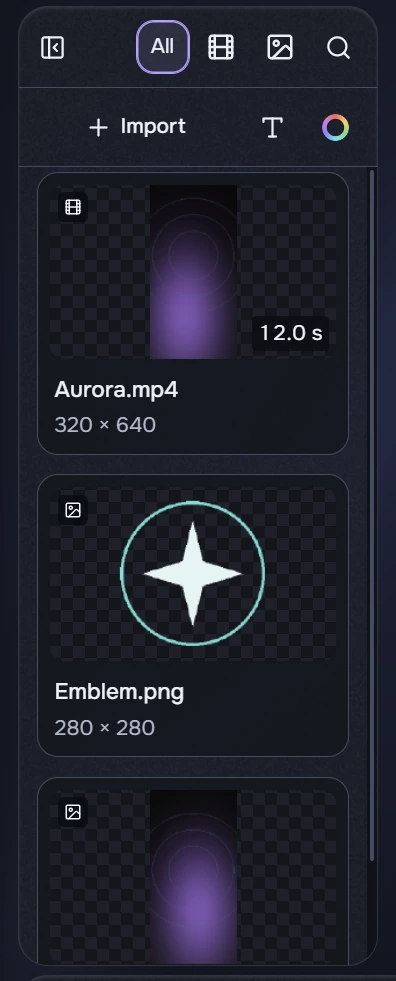
- Click Import and select Aurora.mp4 from Media. You can also drag a file from Explorer into the window, or paste files/an image with Ctrl+V.
- Double-click a video card to add it to the timeline, or drag it to a desired time. Select a timeline clip to open its settings on the right.
Start with common MP4, JPG or PNG files. Other extensions are supported, but playback also depends on the file’s contents and codec. If import fails, read the message and try another source file.
Use All, Video, Images and search to find a card. The T button creates a text layer; the colour circle creates a colour background. Importing alone does not place media in your edit. Removing a library card does not delete the source file from disk. Inside a text field, Ctrl+V pastes text normally.
Drop media onto the timeline
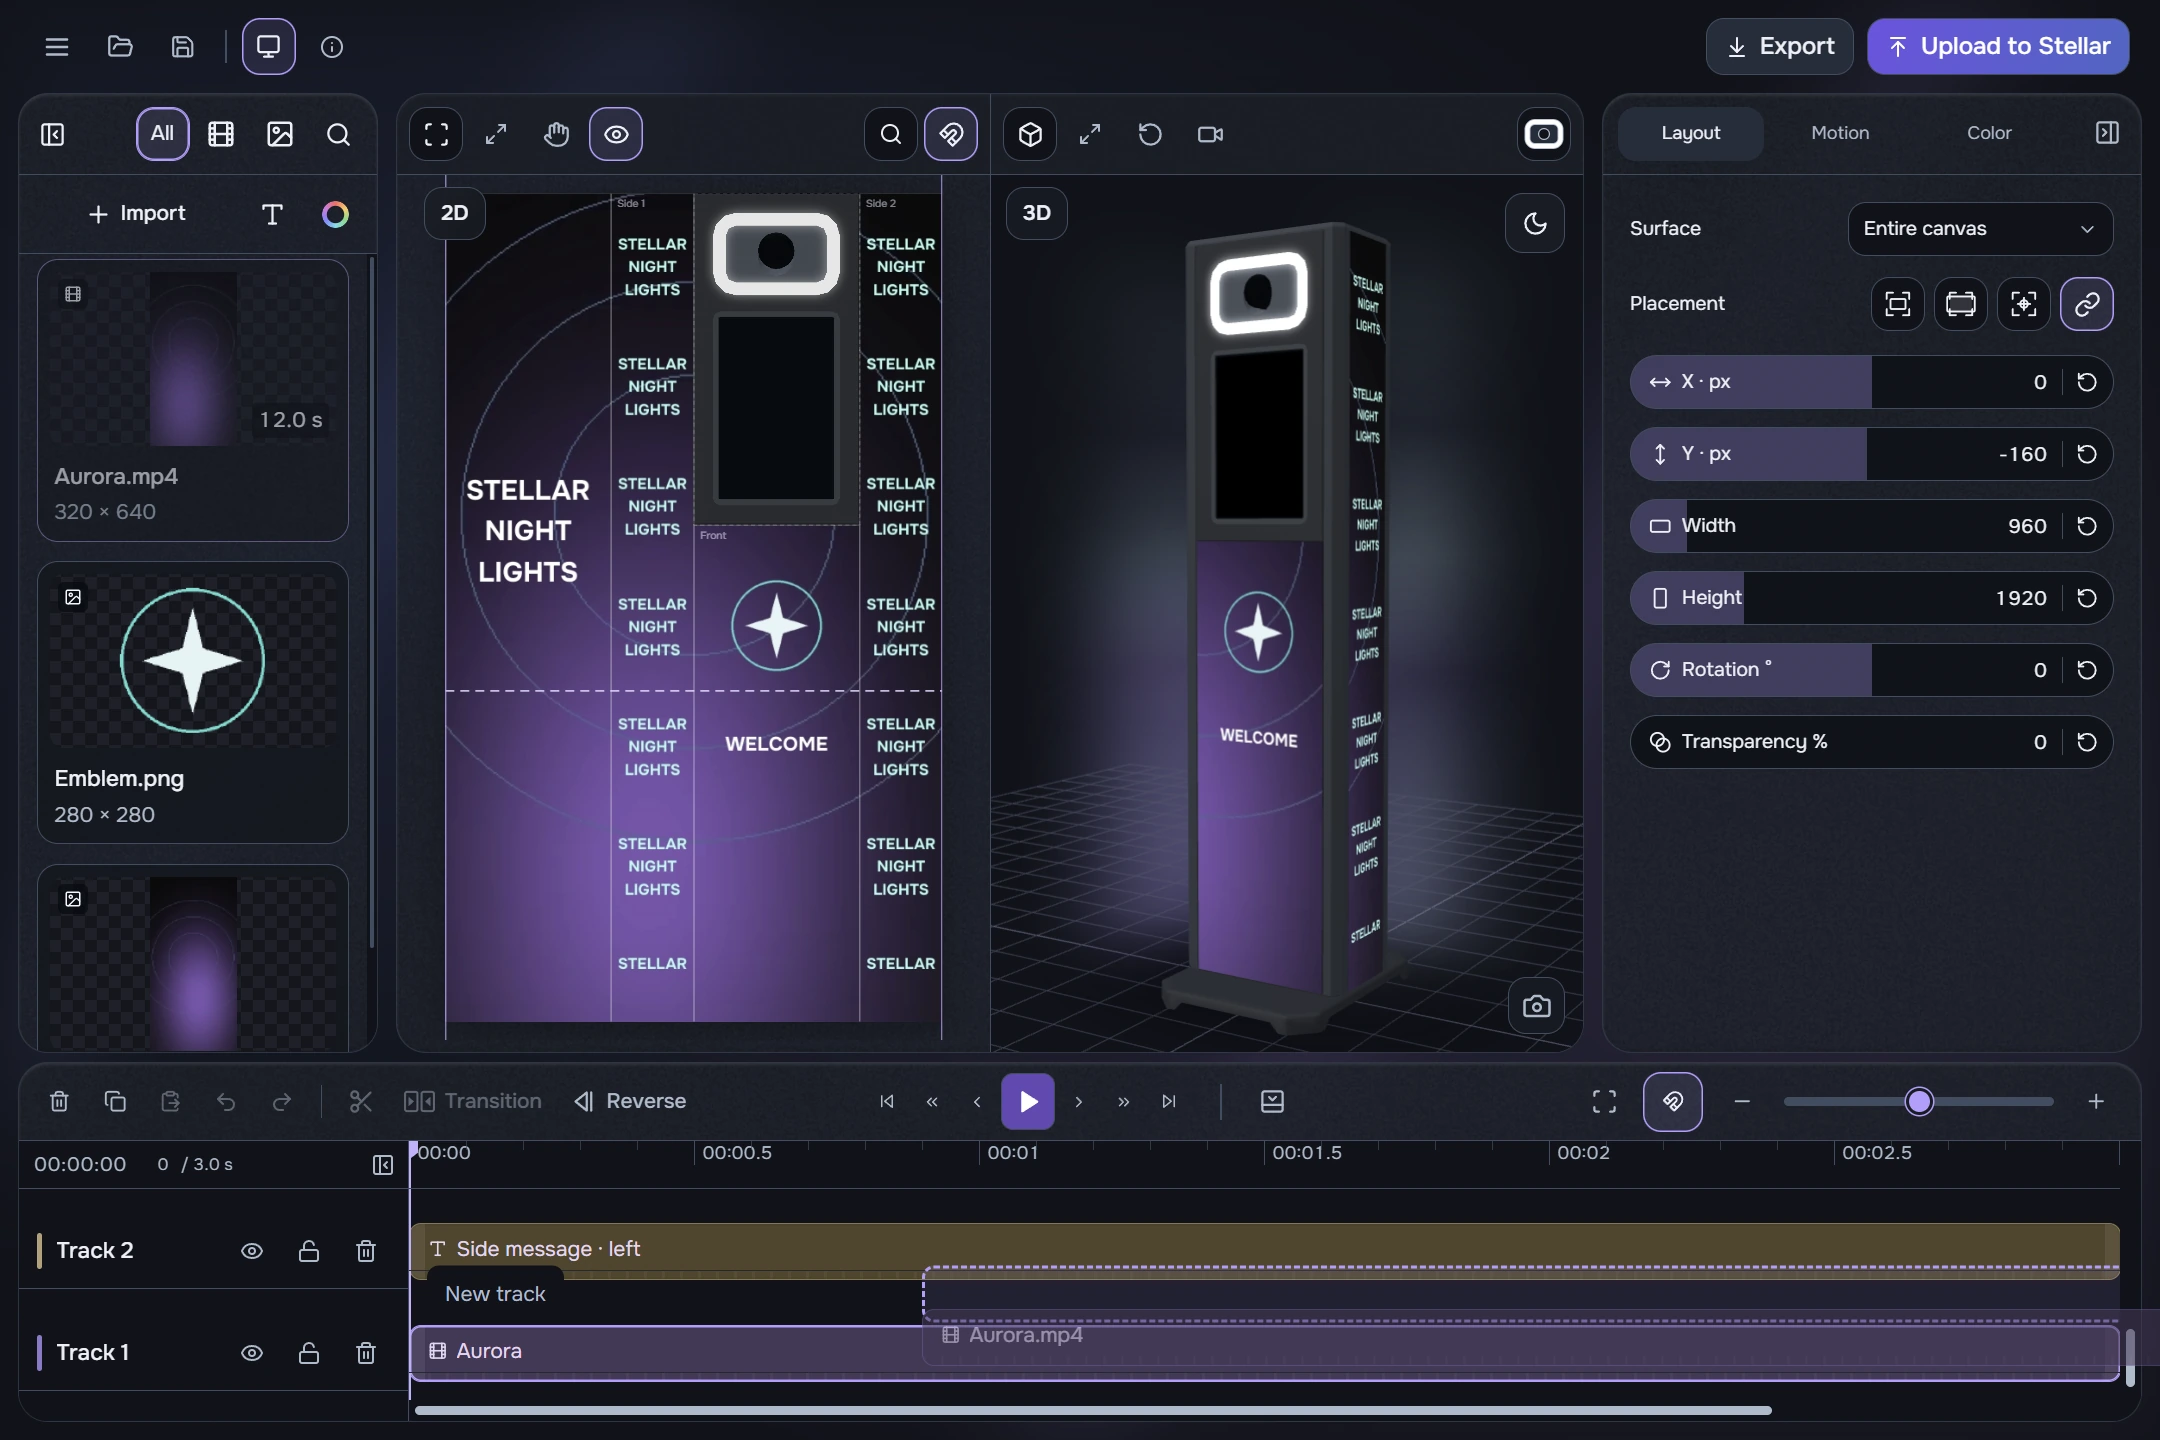
Dropping library media over an occupied clip, before it, near a row edge, in empty space or onto a locked destination offers a new track above or below. To append to an existing track, point to the right of its last clip in the central row area; placement must be valid. Check the insertion preview before releasing.

This rule applies to media-library assets. It does not unlock existing clips or allow conflicting clip moves. Dropping outside the timeline or on unrelated controls does not add content.